Windows Running Slow? These Background Services Are Killing Performance
Why Background Services Slow Down Windows:
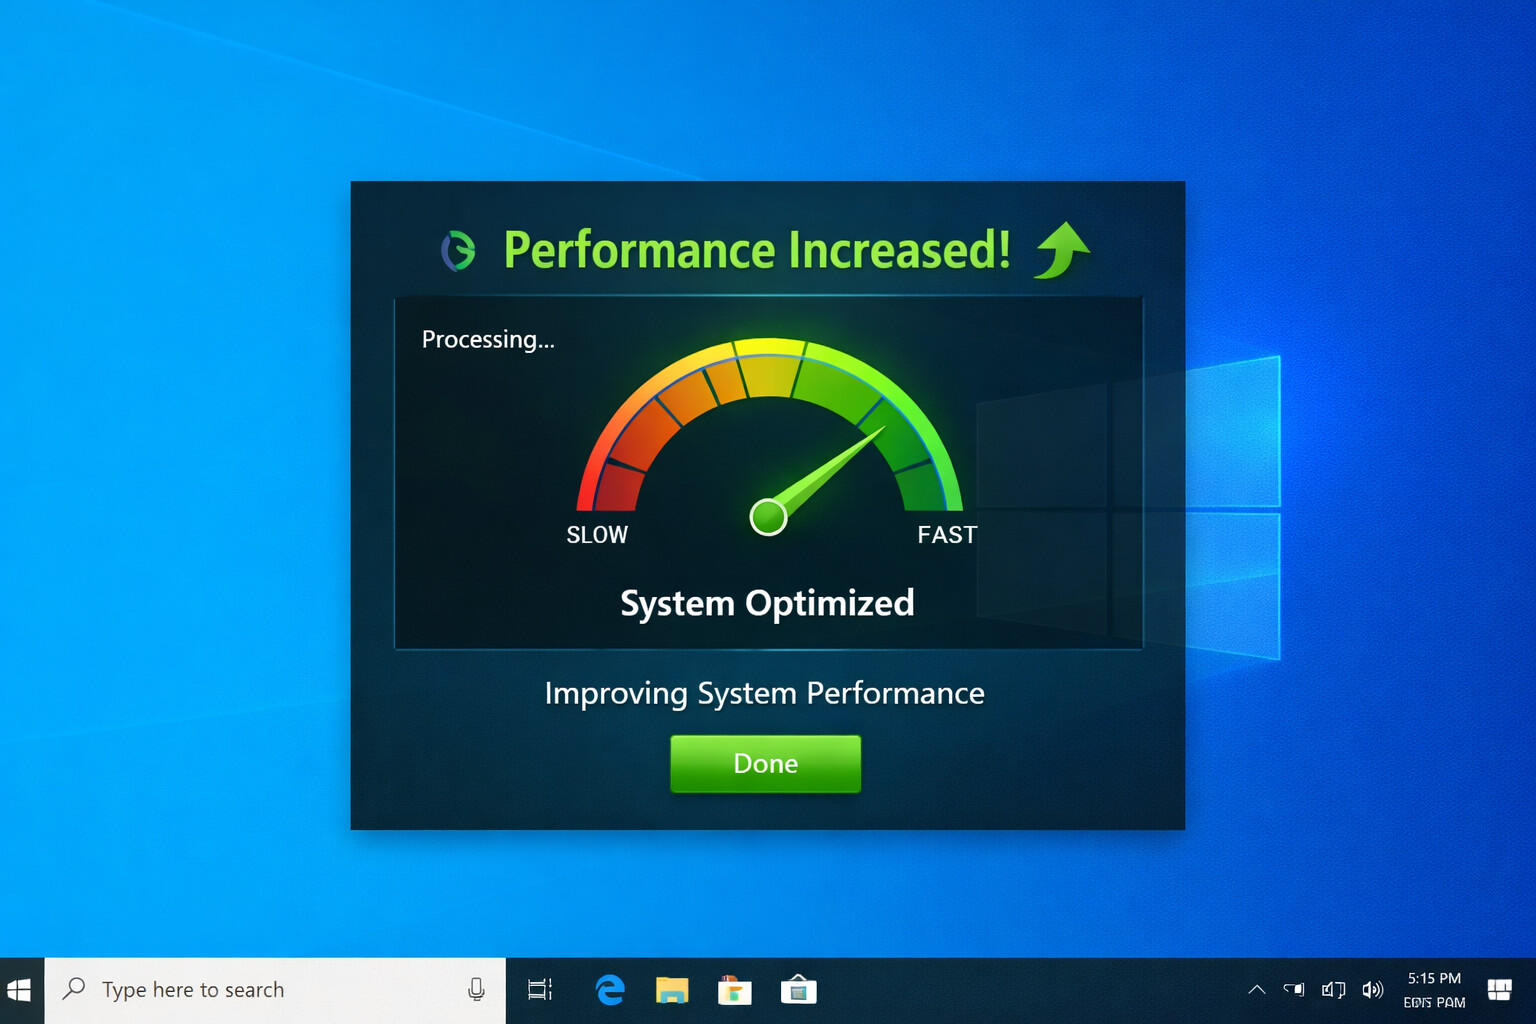
Windows runs dozens of services in the background—some useful, some completely unnecessary. These services consume RAM, CPU, Disk I/O, and increase boot time, even if you never use them. Disabling only the correct ones can make Windows feel much faster and lighter.
- Connected User Experiences & Telemetry
- SysMain (Recommended for HDD Users and Low-RAM Systems)
- Windows Search (Optional - Disables File Indexing)
- Xbox Live Services (If you don't use Xbox)
- Print Spooler (If you don't have a printer)
- Downloaded Maps Manager
- Background Intelligent Transfer Service (BITS)
- Remote Registry (Optional - For Advanced Users Only)
To simplify the process, you can use our free script that automatically disables these background services for you. Just download it from the link below and run it with administrator privileges.
- Download the script using the button below.
- Right-click the downloaded .bat file and select "Run as administrator".
- Follow any on-screen prompts to complete the process.
- Restart your computer to apply the changes.
Step 1:Press
Step 2: Type services.msc and hit Enter
Step 3:Search for
Step 4:Disable the service by right-clicking it and selecting "Properties"
Step 5:then changing the startup type to "Disabled"
Step 6:Under service status select "stop"
Step 7:Click "OK" and "apply" the changes
Step 1:Press
Step 2: Type services.msc and hit Enter
Step 3:Search for
Step 4:Disable the service by right-clicking it and selecting "Properties"
Step 5:then changing the startup type to "Disabled"
Step 6:Under service status select "stop"
Step 7:Click "OK" and "apply" the changes
Step 1:Press
Step 2: Type services.msc and hit Enter
Step 3:Search for
Step 4:Disable the service by right-clicking it and selecting "Properties"
Step 5:then changing the startup type to "Disabled"
Step 6:Under service status select "stop"
Step 7:Click "OK" and "apply" the changes
Step 1:Press
Step 2: Type services.msc and hit Enter
Step 3:Search for
Step 4:Disable the service by right-clicking it and selecting "Properties"
Step 5:then changing the startup type to "Disabled"
Step 6:Under service status select "stop"
Step 7:Click "OK" and "apply" the changes
Step 8:Search for
Step 9:Disable the service by right-clicking it and selecting "Properties"
Step 10:then changing the startup type to "Disabled"
Step 11:Under service status select "stop"
Step 12:Click "OK" and "apply" the changes
Step 13:Search for
Step 14:Disable the service by right-clicking it and selecting "Properties"
Step 15:then changing the startup type to "Disabled"
Step 16:Under service status select "stop"
Step 17:Click "OK" and "apply" the changes
Step 18:Search for
Step 19:Disable the service by right-clicking it and selecting "Properties"
Step 20:then changing the startup type to "Disabled"
Step 21:Under service status select "stop"
Step 22:Click "OK" and "apply" the changes
Step 1:Press
Step 2: Type services.msc and hit Enter
Step 3:Search for
Step 4:Disable the service by right-clicking it and selecting "Properties"
Step 5:then changing the startup type to "Disabled"
Step 6:Under service status select "stop"
Step 7:Click "OK" and "apply" the changes
Step 1:Press
Step 2: Type services.msc and hit Enter
Step 3:Search for
Step 4:Disable the service by right-clicking it and selecting "Properties"
Step 5:then changing the startup type to "Disabled"
Step 6:Under service status select "stop"
Step 7:Click "OK" and "apply" the changes
Step 1:Press
Step 2: Type services.msc and hit Enter
Step 3:Search for
Step 4:Disable the service by right-clicking it and selecting "Properties"
Step 5:then changing the startup type to "Disabled"
Step 6:Under service status select "stop"
Step 7:Click "OK" and "apply" the changes
Step 1:Press
Step 2: Type services.msc and hit Enter
Step 3:Search for
Step 4:Disable the service by right-clicking it and selecting "Properties"
Step 5:then changing the startup type to "Disabled"
Step 6:Under service status select "stop"
Step 7:Click "OK" and "apply" the changes